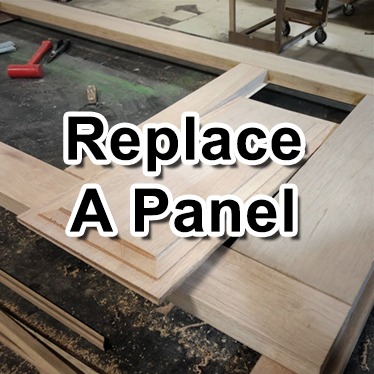
How to Replace a Door Panel
-
 By Shayan Behjati
 - Feb 17, 2023
What is a Door Panel?
A door panel simply refers to the part of a door that is fitted into openings made by stiles and rails, and is responsible for providing security, insulation, and privacy. It is the surface that faces the inside and outside of the room and in our custom mahogany doors are made of a variety of materials, such as wood.
The door panel can be designed to be flat or raised, and can feature various types of decorative patterns, such as V-Grooves or Brazen pattern. In addition, a door panel can also include various accessories such as speakeasies, peepholes, clavos, and handles.

A panel is held within the door by a series of glass stops around the perimeter of the opening.
How do I Replace a Panel in a Wood Door?
You may need to replace a door panel if it is damaged, such as if it is cracked, dented, broken, or worn out, as this can compromise the security, insulation, and privacy of the door. A door panel can become damaged due to impact, wear and tear, exposure to moisture, or extreme temperature changes. Impact from a heavy object can cause dents or cracks, while constant use or exposure to the elements can lead to wear and tear. Moisture can cause the panel to warp, rot, or develop mold, and extreme temperature changes can cause the material to expand or contract, further leading to warping or cracking. Replacing a door panel can help improve the overall performance and appearance of your door, and is sometimes necessary to ensure it's long life.
Step 1: Prepare the Door
To access the panel to be replaced, it's easiest if the slab is removed from it's hinges and laid horizontally. Make sure to lay the door with the exterior face down as the panel is only able to be removed from the interior side of the slab.

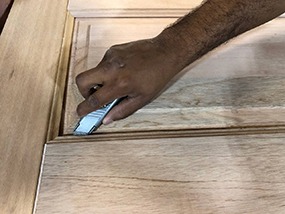
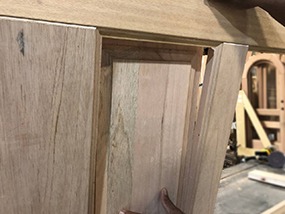
Step 2: Remove the Glass Stops
The panel is held into the door by a few glass stops around the perimeter of the panel. These glass stops will be attached to the stiles and rails around it with finishing nails. Carefully work the glass stop out with a putty knife or similar. Remove any remaining nails with a pair of pliers.
Step 3: Remove Silicone
At this point, you may be able to push on the panel from underneath to free it. If not, flip the door so the exterior face is now up. Using a putty knife or similar, push under the door's profile to separate the panel from the silicone, constantly applying pressure on the panel. Once it's removed, you can clean up the rest of the silicone from the door.
Step 4: Prepare the Opening
Flip the door so the exterior is back facing downwards. Apply a thin line of silicone around the perimeter of the opening. In our workshop, we use 995 DAP Silicone. The panel, when inserted, will press against this silicone and form a tight seal in the door.

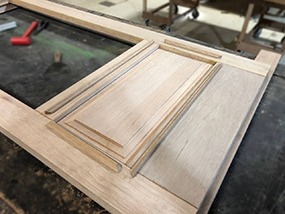
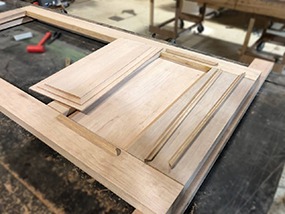
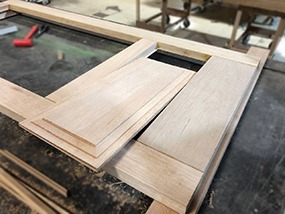
Step 5: Insert the New Panel
Insert the new panel into the prepped opening. Depending on the construction of the panel it will either be inserted in one piece or need to be assembled as two halves. If the panel is in two halves, insert one half and apply a layer of wood glue to the back, before laying the other half on top.
Step 6: Attach the Glass Stops
Cut the glass stops to a precise fit for your opening. The ends should be cut at a 45 degree angle. Insert the glass stops into the opening so they are pressed out against the stiles and rails and down against the panel. Using 1-1/4" finishing nails, nail the glass stops about 4" apart into the door until the fit is tight and neither the panel nor glass stops are able to move. If the door is prefinished, longer finishing nails and a resin putty to hide the nail holes will be needed.