How to Replace an Astragal on a Double Door Unit
-
 By Shayan Behjati
 - Feb 14, 2023
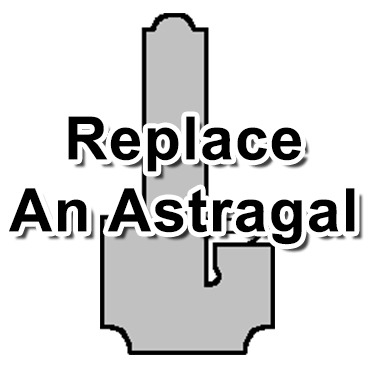
What is an Astragal?
An astragal is a necessary piece of a double door system used to seal the gap between the two doors when they are closed. The astragal can either be a T-astragal, which includes weatherstripping and is used in exterior systems, or a flat astragal, which is just a strip of material and is used in interior systems. This double door system could be a french door, double door, or something unique. The astragal serves several important functions in ensuring the performance and functionality of the double door unit.
The astragal is typically screwed into the inactive door, which is the door that does not move when the other door is opened and closed. When the active door is closed, the astragal makes contact with it, forming a seal between the two doors. This helps to prevent air, light, and water from entering the gap between the doors, making the double door unit weather-tight and secure. The astragal helps reduce sound transmission, and is also a decorative element. The astragal is a critical component that helps to ensure the performance and functionality of the double door system.


(Note that the T-Astragal pictured is attached to the inactive door, which remains stationary when the unit opens)
How do I Replace an Astragal?
An astragal in a double door unit may need to be replaced due to wear and tear from frequent use, weather damage, or damage from other environmental factors such as moisture or temperature changes. If the astragal becomes worn, damaged, or deformed, it may no longer provide an effective seal between the two doors, allowing air, light, and water to enter the gap between the doors. Replacing the astragal can restore the performance and functionality of the double door unit and ensure that it continues to provide weather protection, security, and soundproofing.
How to Remove the Attached Astragal
Step 1: Prepare the Door
First we will need to remove the astragal that is already attached to the inactive door of the double door unit. This is easiest when the inactive door is removed from it's hinges and laid down horizontally, giving access to the screws holding the astragal to the slab, and to any flush bolts.

Step 2: Remove the Weatherstripping
Inserted into the kerf of the astragal should be a piece of weatherstripping that runs the whole length of the astragal. This weatherstripping improves the functionality of the unit when the doors are closed, and can hide screws that need to be removed. Weatherstripping is held in place with a friction fit, and should be able to be removed by simply pulling it out.

Step 3: Remove Additional Parts
The astragal houses two other elements necessary for a functional double door unit, both of which need to be removed. Flush bolts are present at the top and bottom of the inactive door, and are typically attached to the slab with two screws each. An astragal cap protects the bottom of the astragal and should be removed as well.

Step 4: Unscrew the Astragal
Depending on the height of your slab, the number of screws holding the astragal to the slab may differ. Most common door sizes will utilize four screws to adequately join the astragal. Remove any and all screws left, and the astragal should be easy to remove.

Step 5: Remove the Astragal
Now that there are no other parts in the way, and all screws have been removed, the astragal should simply come off the piece. If not- there may be a missed screw, or if the astragal or slab is damaged, there may be additional work required.

How to Attach a New Astragal
Step 1: Prepare the Door
To attach a new astragal, the door should be laid down horizontally to ease working on it. If you are carrying on after removing an old astragal, you should be able to continue with no issue.

Step 2: Move the New Astragal to Place
Bring the new astragal to your slab. The top of the astragal should be flush with the top of the slab and short on the bottom to give space for the astragal cap to be installed.

Step 3: Screw the New Astragal to the Slab
Attach the new astragal to the inactive door with a series of vertical screws. If there are no predrilled holes, the screws should be attached at approximately 9" and 30" from the bottom and top of the slab for a regularly sized slab. For irregular sizes, this pattern from both the top and bottom of the slab should be observed.

Step 4: Reattach Additional Parts
Now that the astragal is attached to the slab, the rest of the part can be assembled. Screw any flush bolts back to the slab, and cap the bottom of the astragal with the astragal cap.

Step 5: Insert the Weatherstripping
Finally, the weatherstripping can be re-inserted into the astragal kerf. This is just a friction-fit, so the hard plastic end can be pressed into the kerf. Refer to the cross-section to make sure the weatherstrip is facing the correct way.

Step 6: Re-Attach the Inactive Door
Done! The inactive door can now be reattached to the double door unit.