How To Refinish An Exterior Wood Door?
-
 By Shayan Behjati
 - Aug 23, 2021
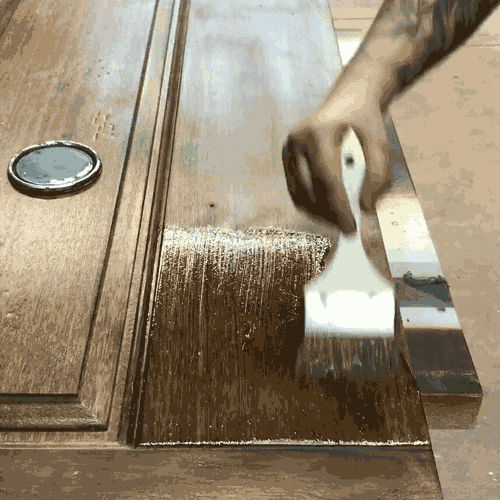
Refinishing An Exterior Wood Door
Refinishing is the process of reapplying the wood finishing to keep the exterior wood door safe from decay. Read on to learn about the process of refinishing an exterior wood door.
Remove all Hardware and Hinges
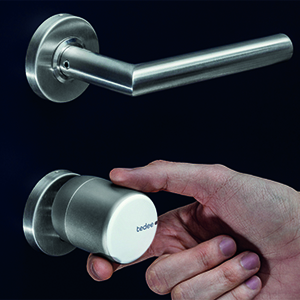
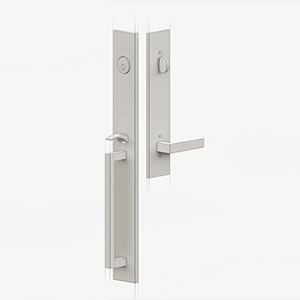
First, move the exterior wood door from the house to the workplace. Unscrew all the hinges, doorknobs and handles, mortise plates, throw bolts and key locks. Make sure you place all the hardware and screws in a box or plastic bag to ensure that nothing is lost. This is the most critical and important step. If you think you can use the painter’s tape in order to work around the exterior wood door hardware, trust me the results will be disappointing, so removing the hardware is what you need to do in order to have good results.

Clean the Door and Dry it
The exterior wood door needs to be cleaned afterwards using natural dish soap (from your kitchen is fine, but you need to make sure that the soap solution is diluted well in water so that the cleaner does not damage the wood.) After this, dry the door with paper towels or cloth. Ensure that the wood is dried out completely. Allow it to set for some time before performing the next step.
Remove the Existing Paint
Apply paint stripper liquid to chemically strip away all the old finish from the wood surface. Allow 30 minutes for the stripper to weaken the paint. Then, use a scraper to remove the paint off the door surface. You may need to repeat this step until most of the paint is removed.
Sanding Flat Surfaces: Sand the existing paint using 80 grit sandpaper or the orbital sander. Also, remove all the finish or weather-damage from the door’s flat surfaces. Next you need to sand it using the 100 grit and finally using the 120 grit. Use a soft rag in order to wipe the sanding dust away.

Molding Scrape: Make use of a small, sharp scraper to carefully reach the corners of the details and then narrow the profiles. Next, gently pull out the scraper using the grain. You need to use both hands in order to apply even pressure. Whenever you are doing this, make sure you do it carefully in order to avoid gouging the wood in any way.

Sand Grooves and Other Edges: This is an important step because you first need to finish the top and the bottom edges of the entry door. Make sure you wait until the edges dry out well. Once all the edges have dried out, you are in the position to rehang the exterior wood door without even worrying that the finish might be damaged along the top or the bottom of the front door.
Sand the Door
Sand the exterior wood door using the medium grit sandpaper. This should be done with extra time and care--do not rush this process. Clean off all the dust that is created during the sanding process. Then, you need to wipe down the exterior wood door using microfiber towels.
Sanding time will depend on how damaged the door is. To restore a door, you need to make sure that you completely remove all the existing finish. This will give the entire door a consistent look. You can use some paint strippers to do the job well if necessary. After stripping off the entire old finish, you’ll need to sand the door again and wipe down quickly.

Reapplying the Finish
This is the final and the most important task to refinish the door. Here, you need to refinish the door and then reinstall the exterior door. Here are the steps :
1. If there is any kind of damage done to the door, this is the right time to fix it. For this, you need to collect up all the sawdust which you have created in the sanding process and mix it using epoxy or glue, and carefully fill up any crack, chip, gash or dent. There are also ready-made wood fillers and putties that come in different colors. If you use any of these, pick a color that is darker than your stain.
2. Apply the stain with a stain rag. Keep your stain application gentle and unified.
3. Once the stain is dried, check the outcome and apply any correction needed.
4. Apply sanding sealer and let it dry.
5. Once dried, sand the sealer with 220 grit sandpaper. Touch the wood surface and make sure the surface is smooth.
6. Apply the top coat and allow the door to dry thoroughly in a dust free environment.
7. Now you can reinstall the door.
Common Mistakes in Refinishing
Refinishing an exterior wood door is an excellent way to prolong it’s lifespan while improving its appearance. However, there are a few common mistakes that can render a refinishing ineffective, or even damage your door. Learn what to avoid while working on your exterior wood door to ensure a successful refinishing.
1. Poor Sanding
Sanding against the grain or leaving power sander marks can leave unsightly marks on the surface that will appear in the finished product. Pay attention to how you’re sanding, and use finer grit sandpaper to eliminate any marks.

2. Scratching the Glass
Leaving glass unprotected during the sanding process can result in accidentally scratching the surface. These marks are difficult to remove, and can be avoided by simply protecting the glass before you sand.

3. Bad Varnish
A varnish could be bad for a variety of reasons; bad prep work, mixing incompatible products, etc. Make sure you know the product you are working with, and do not cut corners.

4. Sanding Through the Veneer
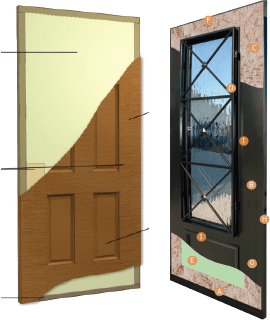
Many exterior doors are constructed from a solid core with a decorative veneer applied on top. Sanding too far into the veneer can show unsightly layers and seriously reduce the lifespan of your door. Know how your door is made, and don’t sand too much.


